Getting Started With Raspberry Pi Basic Starter Kit
Download code and library
Description:
Raspberry Pi is a credit-card sized computer of low cost with Raspberry Pi OS as its official system and can be taken as a personal server and router. Furthermore, it extends out 40 pins to link with sensors or modules, which makes conducting all kind of experiments possible. You could get a camera monitor by plugging a camera to Raspberry Pi. Equally, the voice interactive function could be achieved if a microphone or a camera is connected with it.
And this is a purpose-built kit for Raspberry Pi enthusiasts, through which you could acquire knowledge of Linux and Python, Java and other programming languages, as well as the application of sensors or modules.
Kit List
When you get this kit, please confirm whether all components listed below have been delivered.
## |
Product Name |
Quantity |
Picture |
|---|---|---|---|
1 |
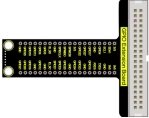
GPIO Extension Board |
1 |
|
2 |
LED - Green |
5 |
|
3 |
LED - Red |
10 |
|
4 |
LED - Yellow |
5 |
|
5 |
LED - RGB |
1 |
|
6 |
220Ω Resistor |
10 |
|
7 |
10KΩ Resistor |
10 |
|
8 |
100Ω Resistor |
10 |
|
9 |
10KΩ Potentiometer |
1 |
|
10 |
Active Buzzer |
1 |
|
11 |
Passive Buzzer |
1 |
|
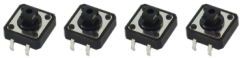
12 |
Button Sensor |
4 |
|
13 |
Ball Tilt Sensor |
2 |
|
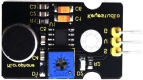
14 |
Photoresistor |
3 |
|
15 |
Flame Sensor |
1 |
|
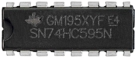
16 |
74HC595N Chip |
1 |
|
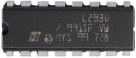
17 |
L293D Chip |
1 |
|
18 |
1 Digit 7-segment LED Display |
1 |
|
19 |
4 Digit 7-segment LED Display |
1 |
|
20 |
8*8 LED Dot Matrix |
1 |
|
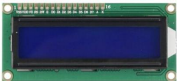
21 |
1602 LCD Display |
1 |
|
22 |
Servo |
1 |
|
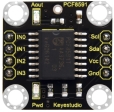
23 |
PCF8591 A/D Converter Module |
1 |
|
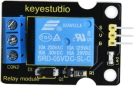
24 |
Relay Module |
1 |
|
25 |
Sound Module |
1 |
|
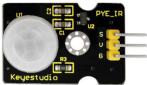
26 |
PIR Motion Sensor |
1 |
|
27 |
MQ-2 Analog Gas Sensor |
1 |
|
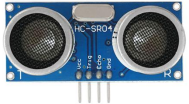
28 |
HC-SR04 Ultrasonic Sensor |
1 |
|
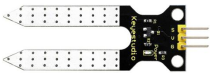
29 |
Soil Humidity Sensor |
1 |
|
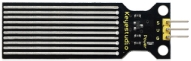
30 |
Water Level Sensor |
1 |
|
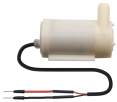
31 |
Water Pump |
1 |
|
32 |
Motor |
1 |
|
33 |
Fan |
1 |
|
34 |
Water Pipe |
1 |
|
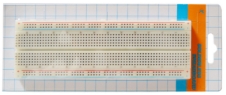
35 |
830-Hole Breadboard |
1 |
|
36 |
Male to Female DuPont Line |
20 |
|
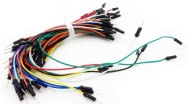
37 |
Jumper Wire |
30 |
|
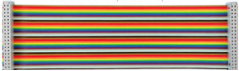
38 |
40-Pin Line |
1 |
|
39 |
Screwdriver |
1 |
|
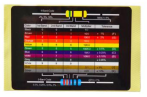
40 |
Resistance Color Code Table |
1 |
|


Install Raspberry Pi OS System:
Hardware Tool:
Raspberry Pi 4B/3B/2B
Above 8G TFT SD Card
Card Reader
Computer and other parts
Install Software Tool
Windows System:
Install putty firstly:
Download Putty:https://www.chiark.greenend.org.uk/~sgtatham/putty/
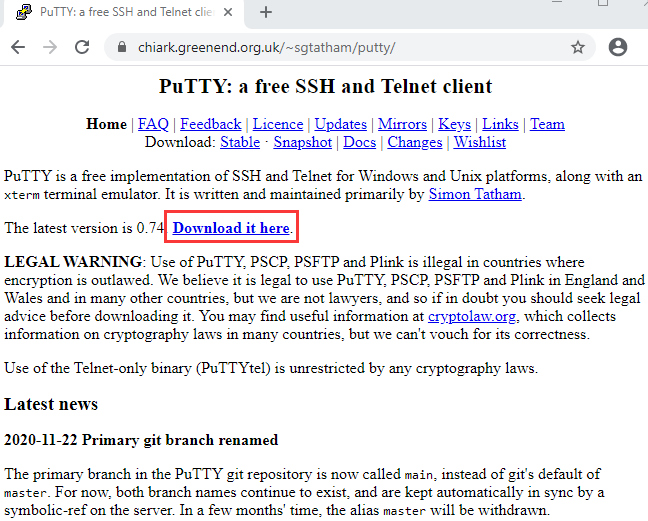
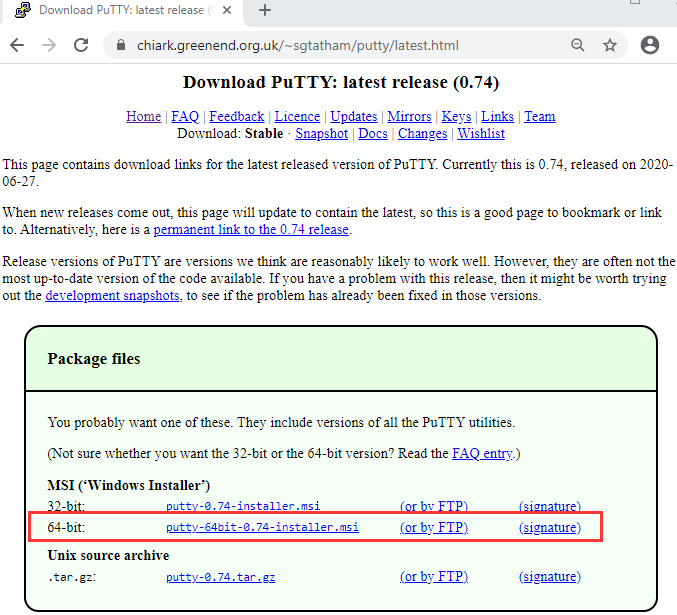
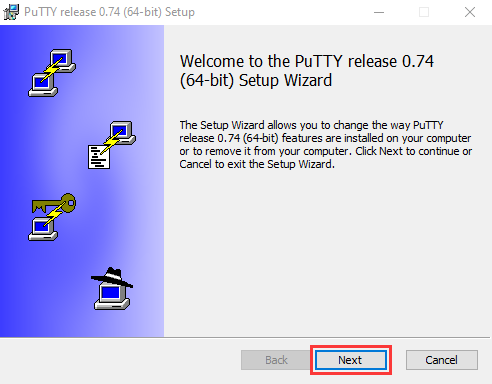
After downloading the driver file ,double-click it and tap“Next”
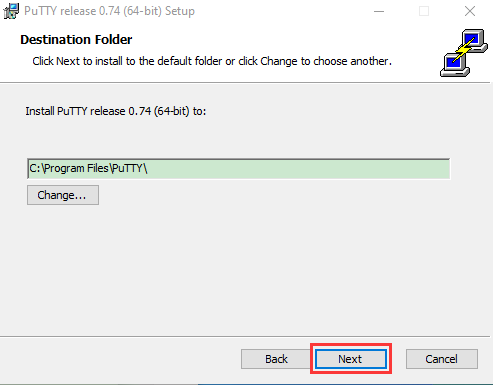
Click“Next”
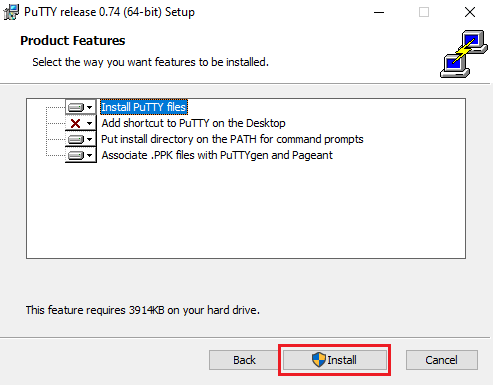
Select“Install Putty files”and click“Install”.
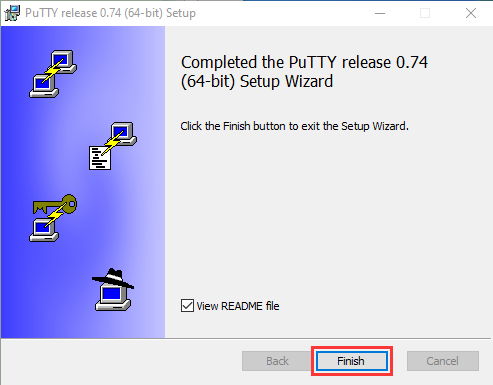
After a few seconds, click“Finish”.
SSH Remote Login software -WinSCP
Download WinSCP: https://winscp.net/eng/download.php
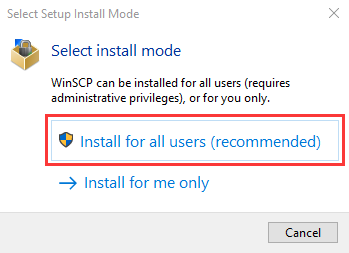
After the download, click and
and
 .
.
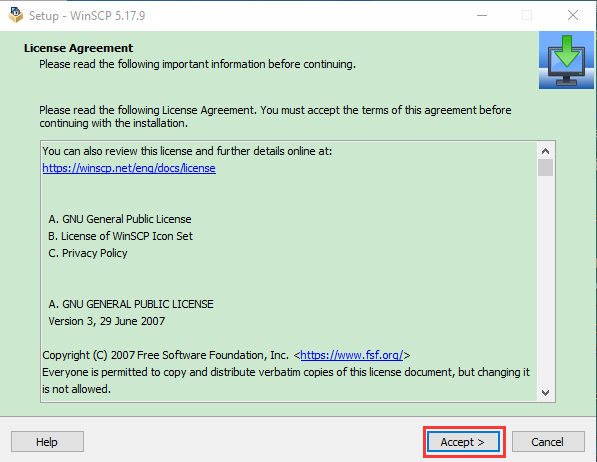
Click“Accept”
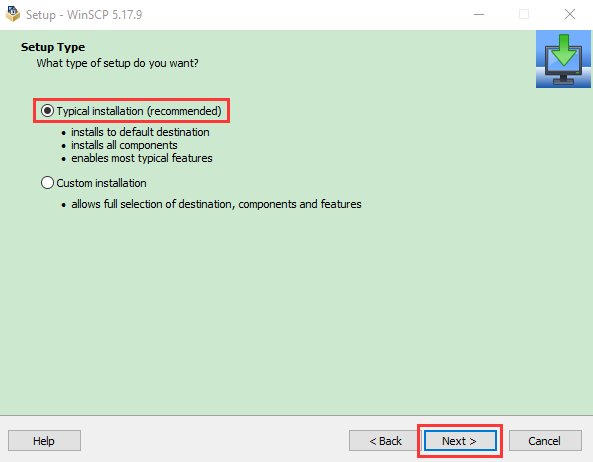
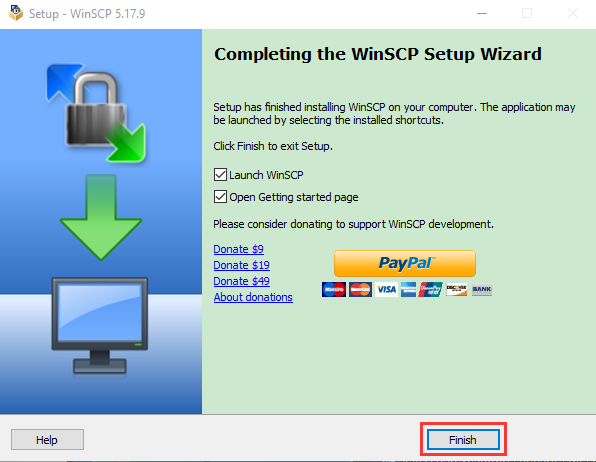
Follow the below steps to finish the installation.


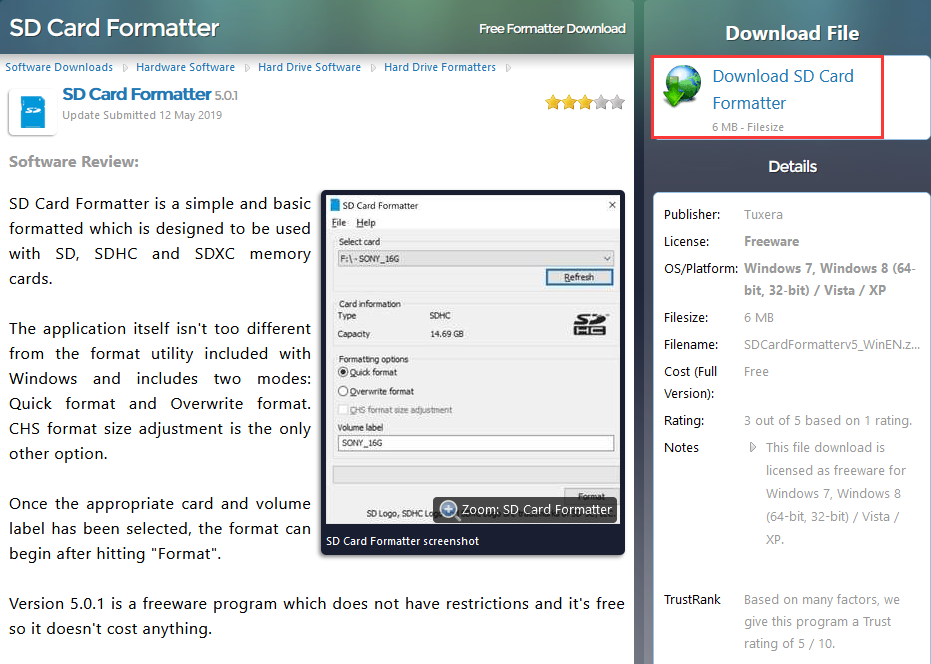
SD Card Formatter
Format TFT card tool
Download SD Card Formatter :
http://www.canadiancontent.net/tech/download/SD_Card_Formatter.html
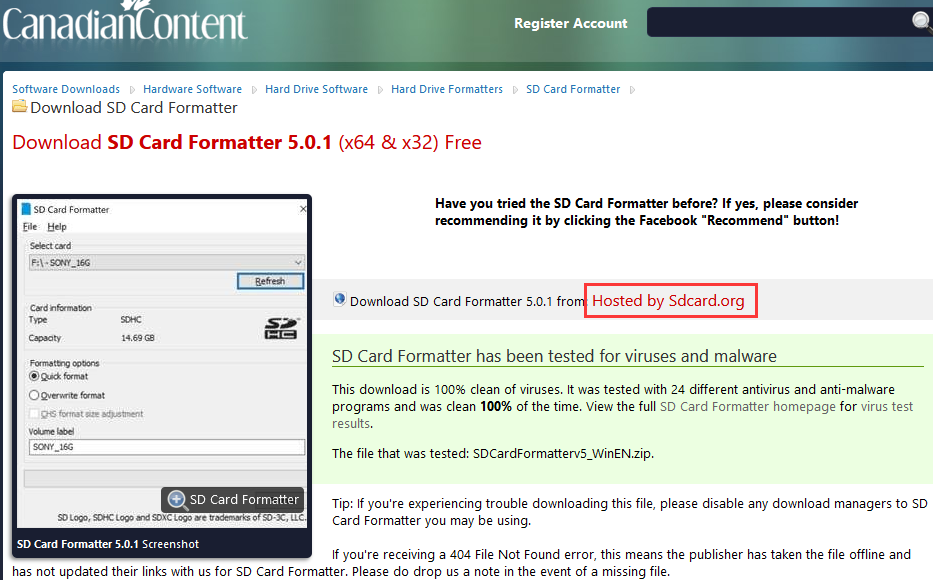
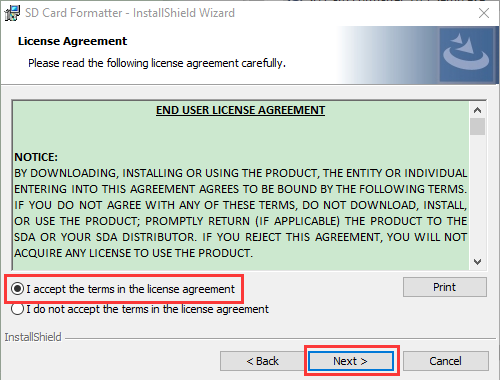
Unzip the SDCardFormatterv5_WinEN package, double-click to run it.
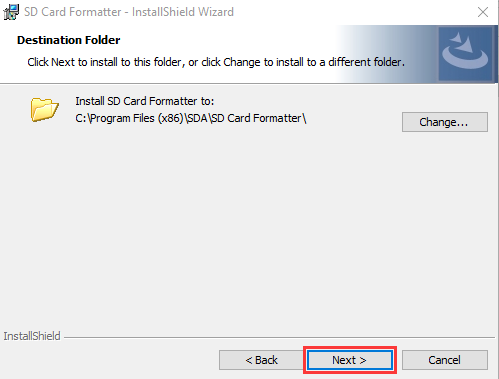
Click“Next”and choose , then tap“Next”
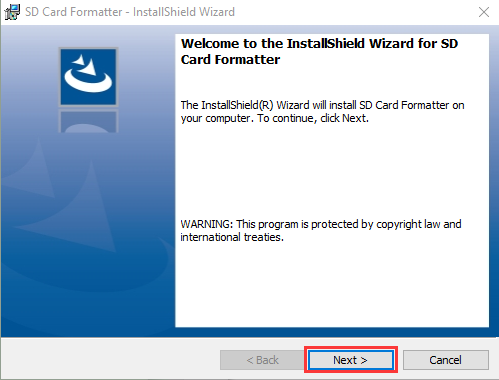
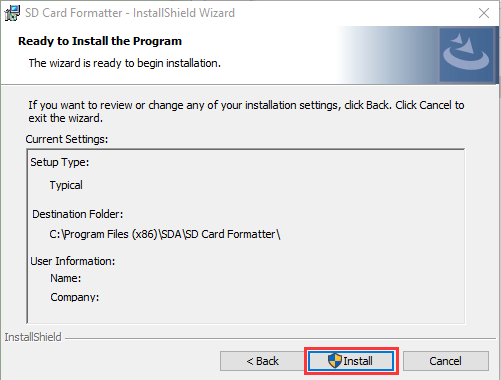
Click“Next”and“Install”.
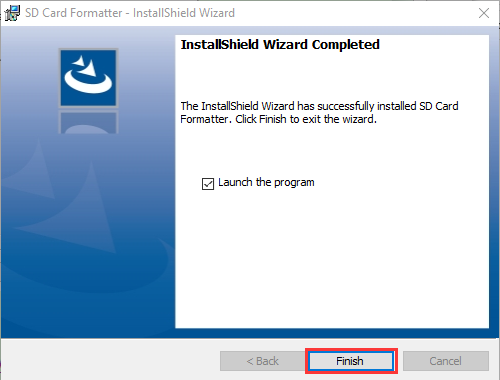
After a few seconds, click“Finish”
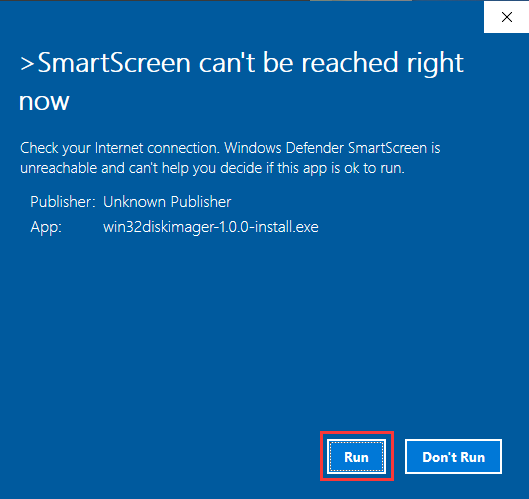
Burn Win32DiskImager
Download Link:https://sourceforge.net/projects/win32diskimager/

a. After the download, double-click and tap“Run”
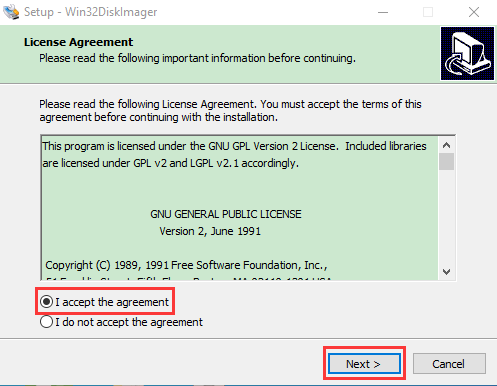
b. Select  and tap“Next”.
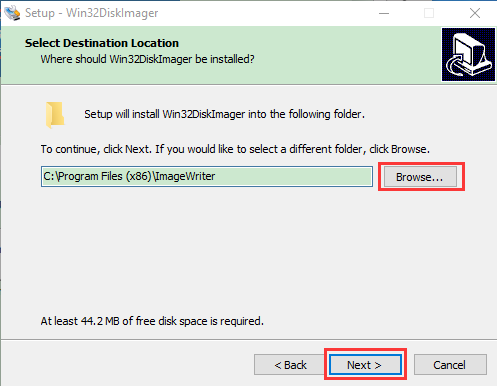
c. Click“Browse…”and find out the folder where the Win32DiskImager is located, tap“Next”.
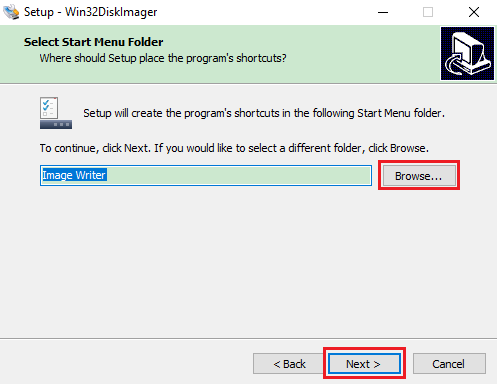
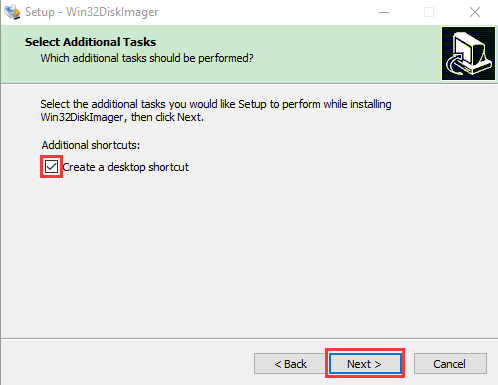
d. Tick , click“Next”and“Install”

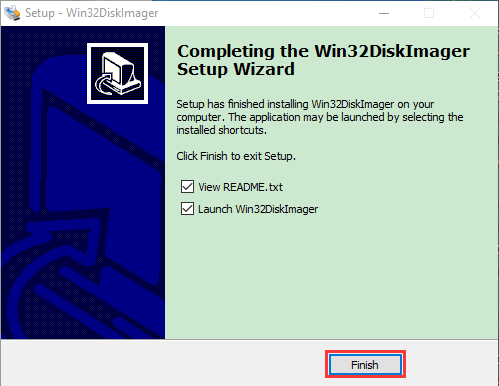
e. After a few seconds, click“Finish”.
f. The installation is finished
Scan to search ip address software tool—WNetWatcher
Download Link:http://www.nirsoft.net/utils/wnetwatcher.zip
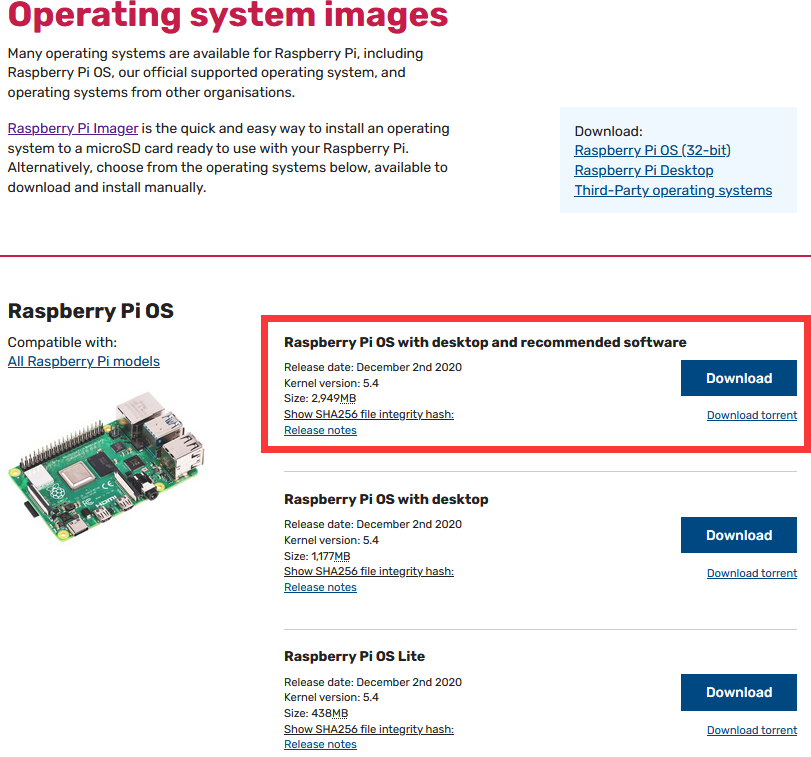
Raspberry Pi Imager
Download Address:
https://www.raspberrypi.org/downloads/raspberry-pi-os/
(recommend downloading the version with desktop and commonly used software)
Install Raspberry Pi OS on Raspberry Pi 4B
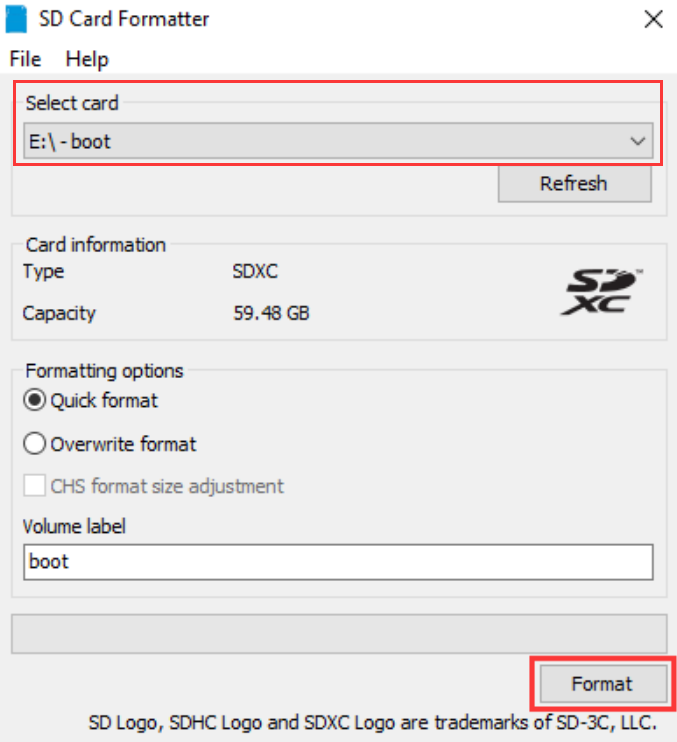
Insert TFT RAM card to card reader, then interface card reader to USB port of computer.
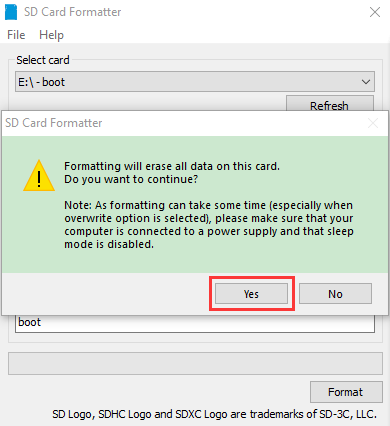
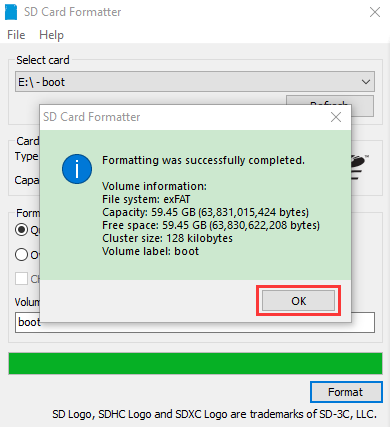
Format TFT RAM card with SD Card Formatter software, as shown below:
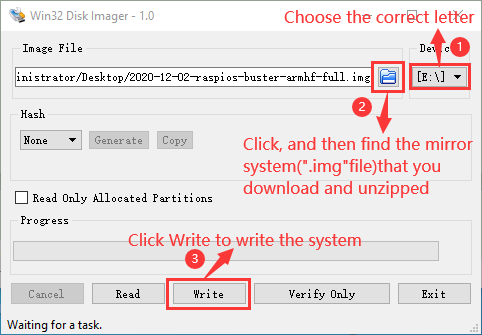
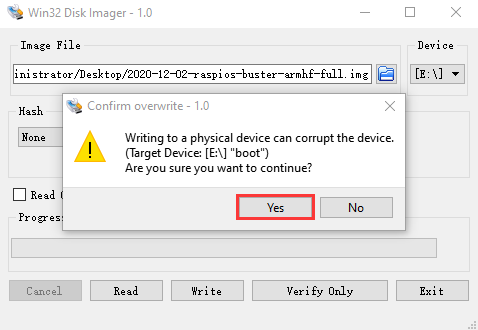
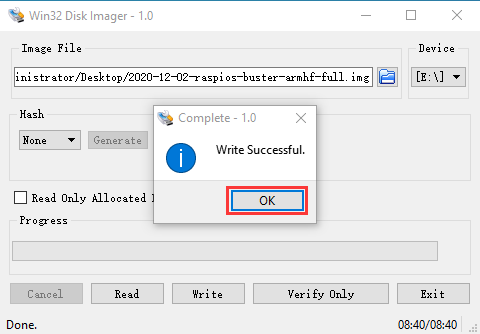
Burn System
Burn the Raspberry Pi OS system to TFT card using Win32DiskImager software
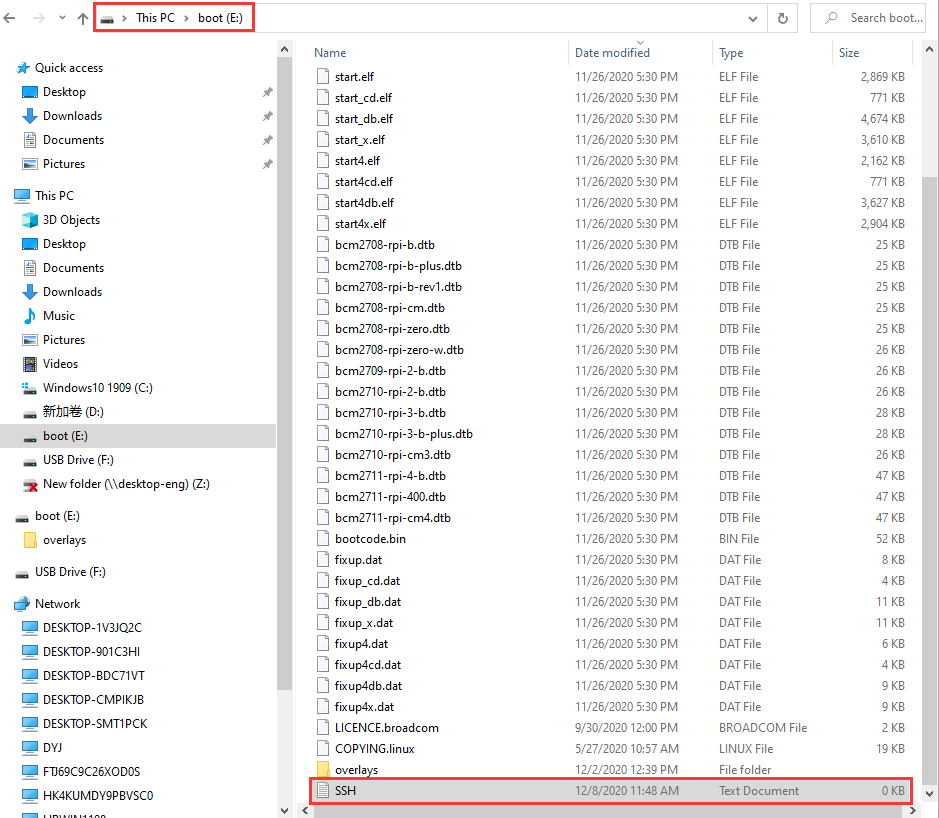
Don’t eject card reader after burning mirror system, build a file named SSH, then delete .txt.
The SSH login function can be activated by copying SSH file to boot category, as shown below.
Eject Card Reader
Log in system(raspberry and PC should be in the same local area network)
Insert TFT card into Raspberry, connect internet cable and plug in power.
If you have screen and HDMI cable of Raspberry Pi, you could view Raspberry Pi OS system activating.
If not, you can enter the desktop of Raspberry Pi via SSH remote login software—WinSCP and xrdp login.
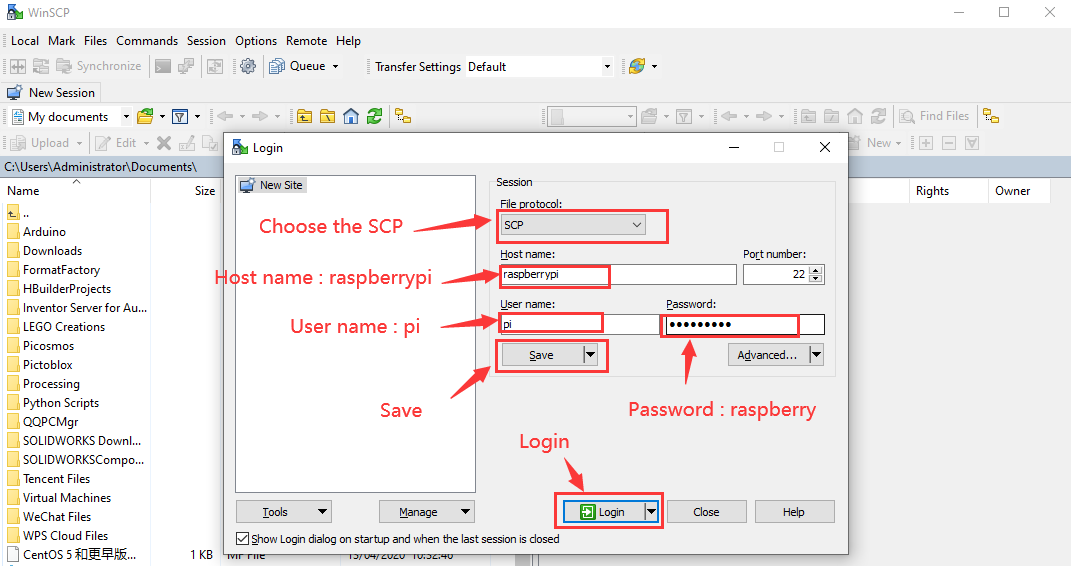
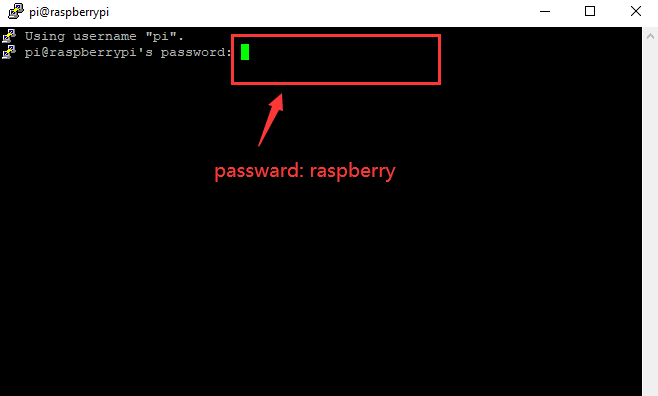
Remote Login
Enter default user name, password and host name on WinSCP to log in.
Only a Raspberry Pi is connected in same network.

Check ip and mac address
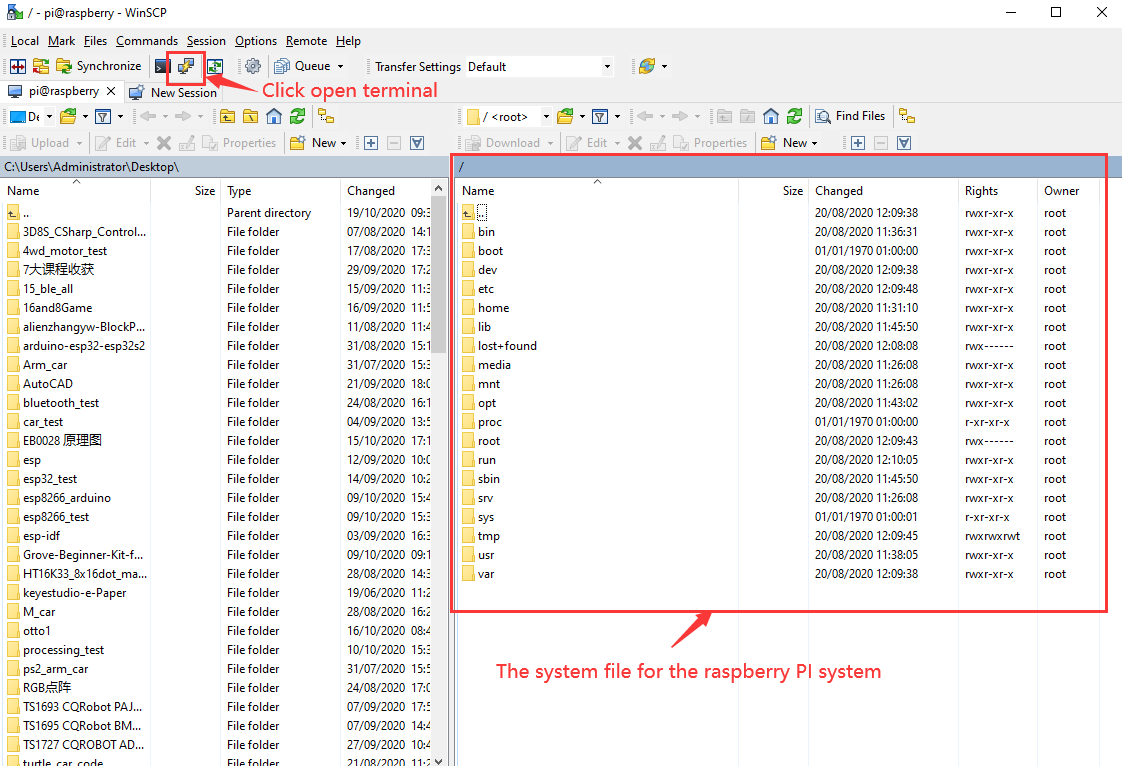
Click to open terminal input the password:raspberry, and press“Enter”on keyboard.
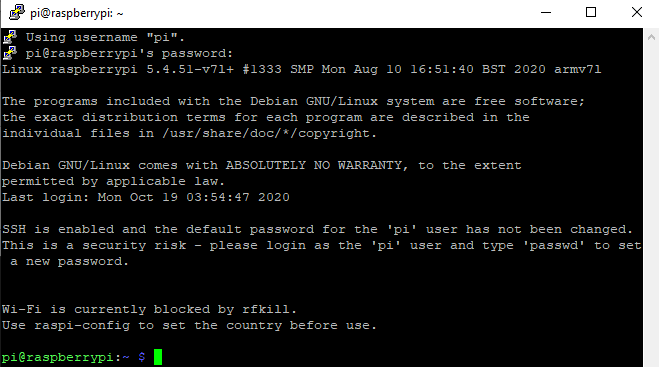
Logging in successfully, open the terminal, input ip a and tap“Enter”to check ip and mac address.
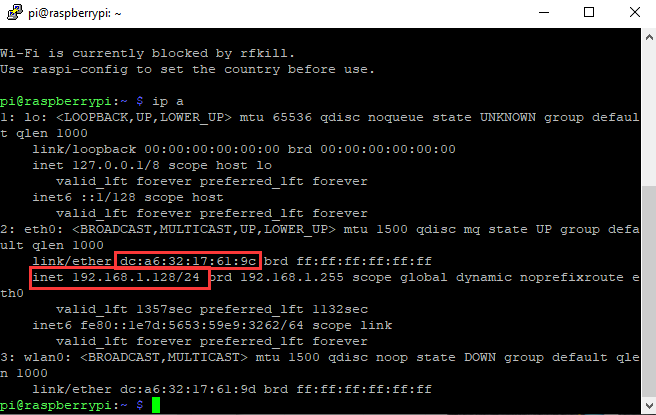
Form the above figure, mac address of this Raspberry Pi is a6:32:17:61:9c, and ip address is 192.168.1.128(use ip address to finish xrdp login)
Since mac address never changes, you could confirm ip via it.
Fix ip address of Raspberry Pi
Ip address is changeable, therefore, we need to make ip address fixed for convenient use.
Follow the below steps:
Switch to root user
If without root user’s password
①Set root passward
Input passwordin the terminal:sudo passwd root to set password
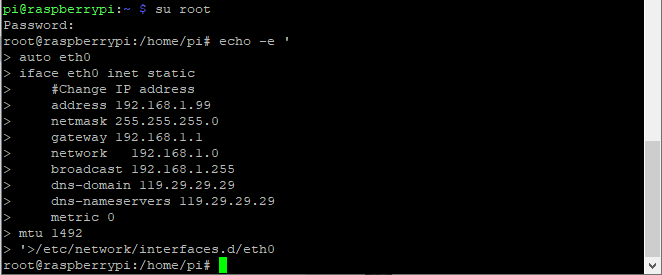
②Switch to root user
su root
③ Fix the configuration file of ip address
Firstly change ip address of the following configuration file
(##New ip address:address 192.168.1.99)
Copy the above new address to terminal and press“Enter”
Configuration File:
echo -e ‘
auto eth0
iface eth0 inet static
##Change IP address
address 192.168.1.99
netmask 255.255.255.0
gateway 192.168.1.1
network 192.168.1.0
broadcast 192.168.1.255
dns-domain 119.29.29.29
dns-nameservers 119.29.29.29
metric 0
mtu 1492
‘>/etc/network/interfaces.d/eth0
As shown below:
④Reboot the system and activate the configuration file
Input the restart command in the terminal: sudo reboot
You could log in via fixed ip afterwards.
⑤Check IP and insure ip address fixed well

Log in Desktop on Raspberry Pi Wirelessly
In fact, we can log in desktop on Raspberry Pi Wirelessly even without screen and HDMI cable.
VNC and Xrdp are commonly used to log in desktop of Raspberry Pi wirelessly. Let’s take example of Xrdp.
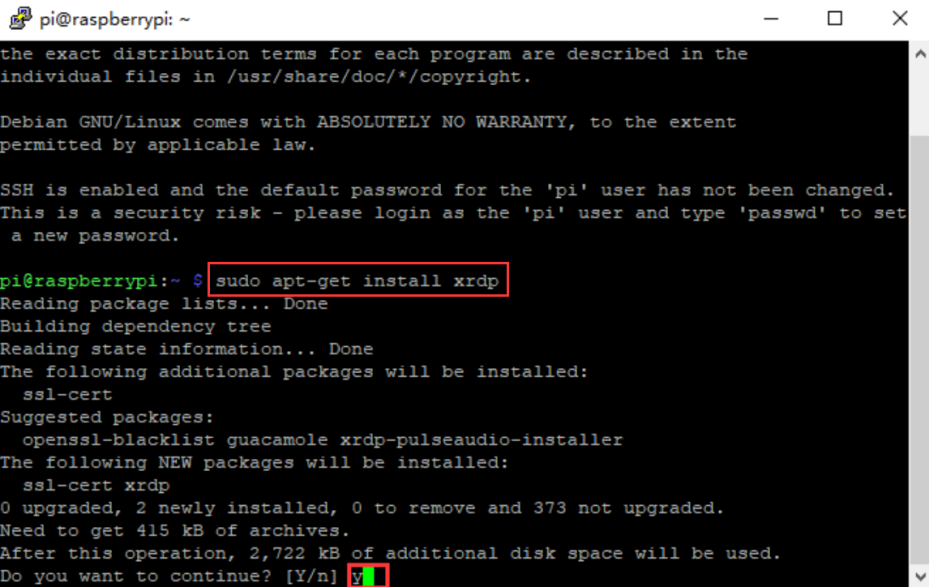
Install Xrdp Service in the terminal
Install Command:
Switch to Root User: su root
Install :apt-get install xrdp
Enter y and press “Enter”
As shown below:
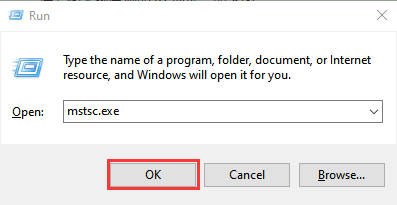
Open the remote desktop connection on Windows
Press WIN+R on keyboard and enter mstsc.exe
As shown below:
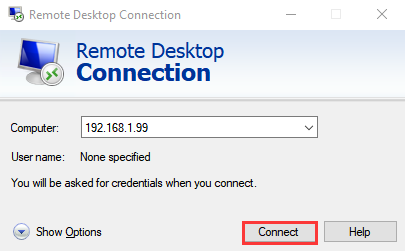
Input ip address of Raspberry Pi, as shown below.
Click“Connect”and tap“Connect”.
192.168.1.99 is ip address we use, you could change into yours ip address.
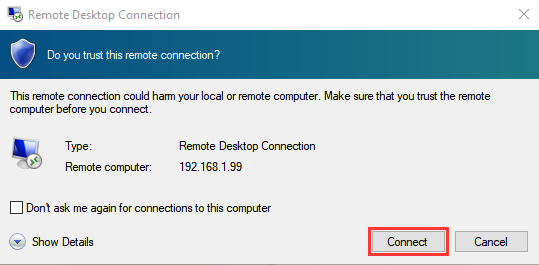
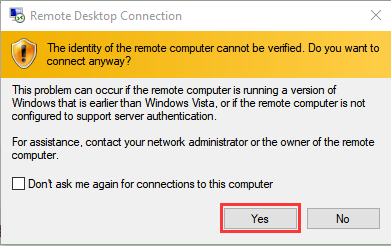
Click“Yes”.
Input user name: pi, default password: raspberry, as shown below:
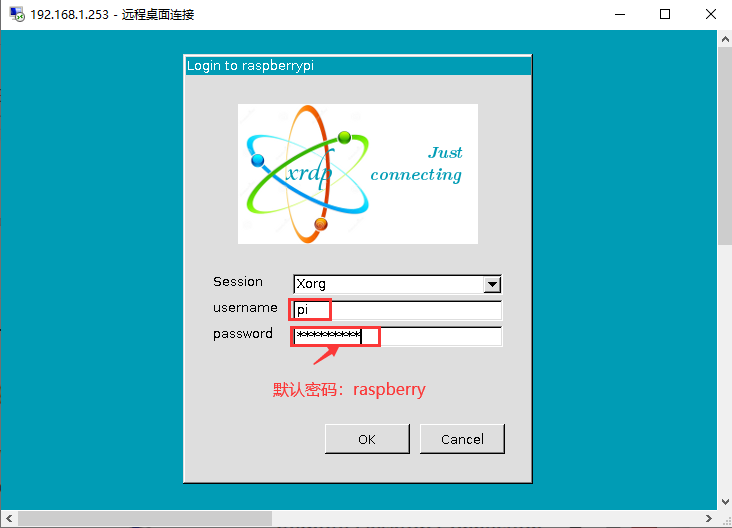
Click“OK”or“Enter”, you will view the desktop of Raspberry Pi OS, as shown below:

Now, we finish the basic configuration of Raspberry Pi OS.
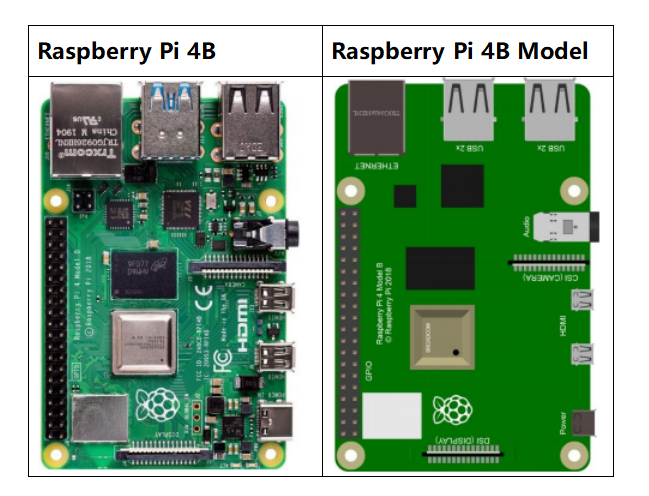
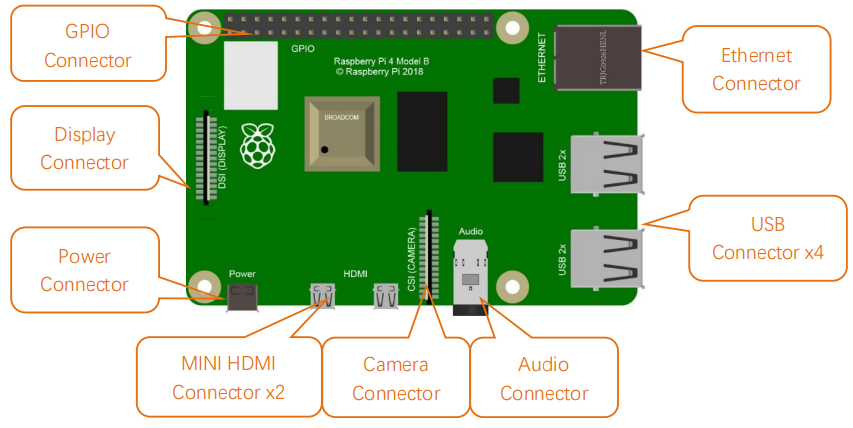
Raspberry Pi 4B:
Hardware Interfaces
40-Pin GPIO Header Description
GPIO pins are divided into BCM GPIO number, physics number and WiringPi GPIO number.
We usually use WiringPi GPIO number when using C language and BCM GPIO and physics number are used to Python, as shown below:
In these lessons, we use C language, so WiringPi GPIO number is adopted.
Note: pin(3.3 V) on the left hand is square, but other pins are round. Turn Raspberry Pi over, there is a square GPIO on the back.(you could tell from pin(3.3V).

Note: the largest current of each pin on Raspberry Pi 4B is 16mA and the aggregate current of all pins is not less than 51mA.
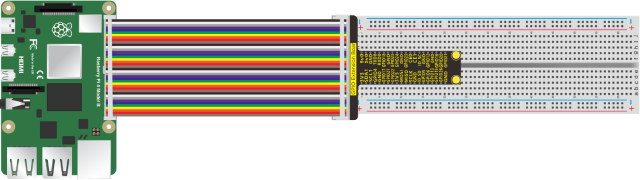
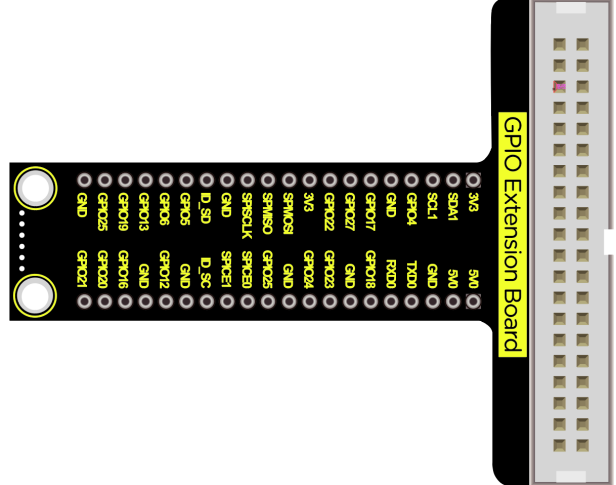
GPIO Extension Board:
This extension board is led out by 40-pin headers of Raspberry Pi for convenient connection.
Note: the silk mark is also printed according to BCM GPIO number.
Connection Diagram